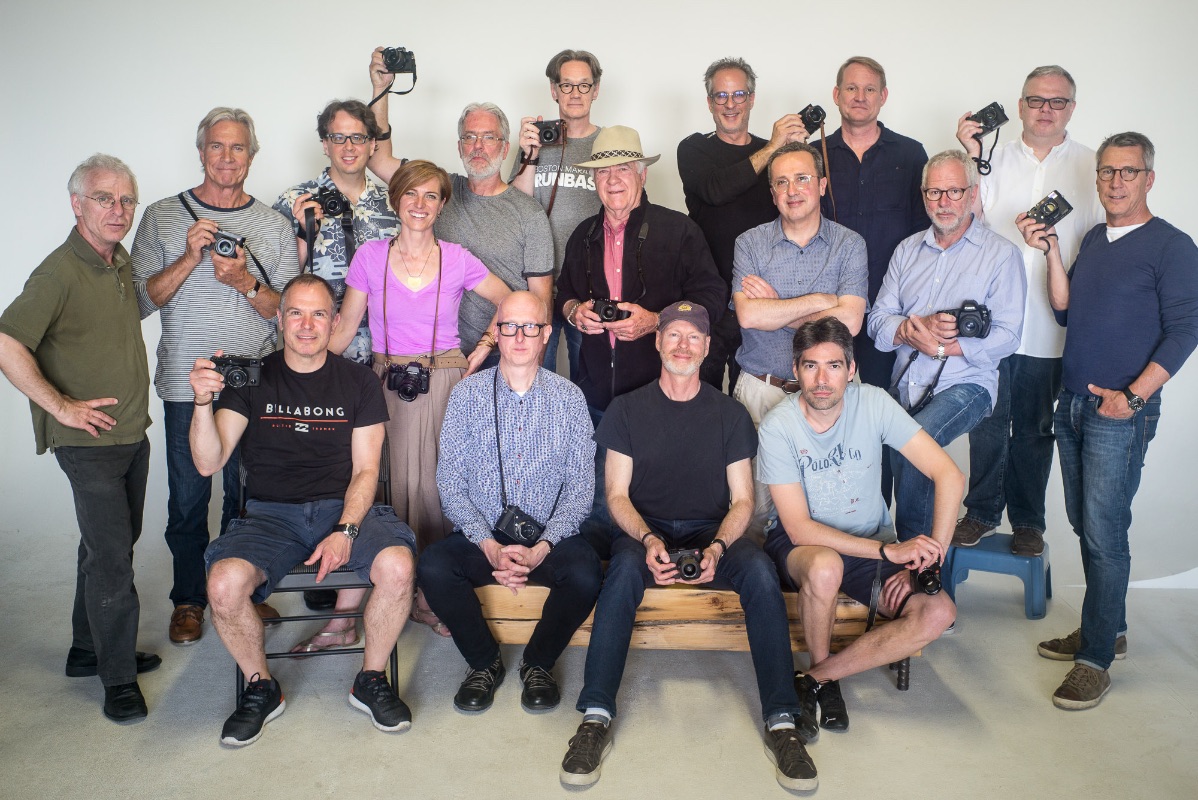
M Vision 2017 - In the steps of legends
Our 2017 spring edition was a runaway success! I will confess that getting up early was a challenge, but what...
Montreal’s Camera and Photo Shop Par Excellence
Page 2 of 2